I know, I’m skating perilously close to being rude by not having sent thank you notes for Christmas yet. But I’m playing the pandemic card yet again, and just getting around to writing (and having the kids write) thank yous.
Because we have so many generous people in our lives, we needed a bunch of notes to send. So I came up with a few different designs, all variations on the same theme…simple stamping with embossing and a few fun embellishments to dress them up a little. I was obviously in a purple mood while designing!
The fun part about these is that there are two things I wanted to show you: a punch template and the impact of embossing.
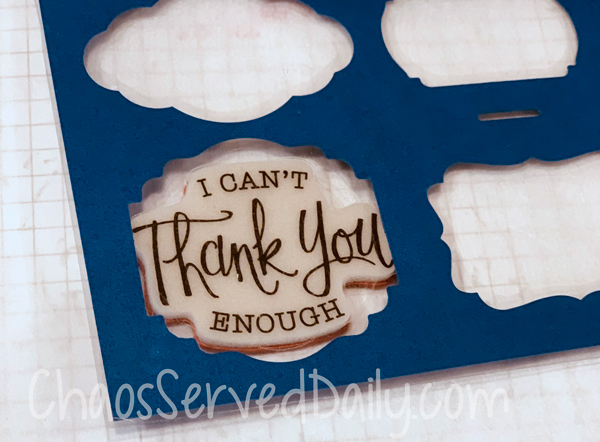
Making a punch template is certainly not a novel idea, but I thought I’d share it, anyway. I seem to spend way too much time when designing trying to figure out if a certain punch fits a certain stamp. So I decided if I had templates, I wouldn’t have to go through my entire punch drawer every time.
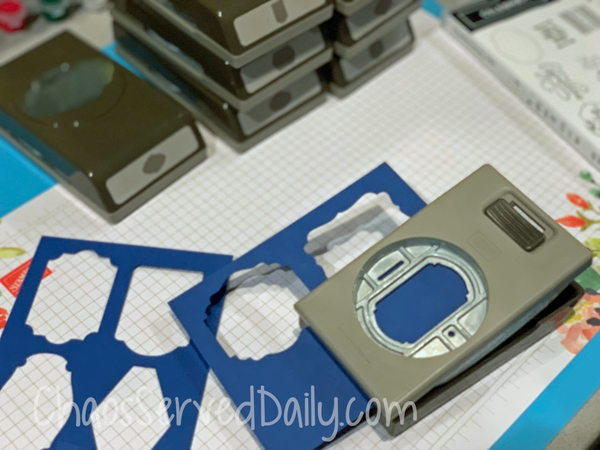
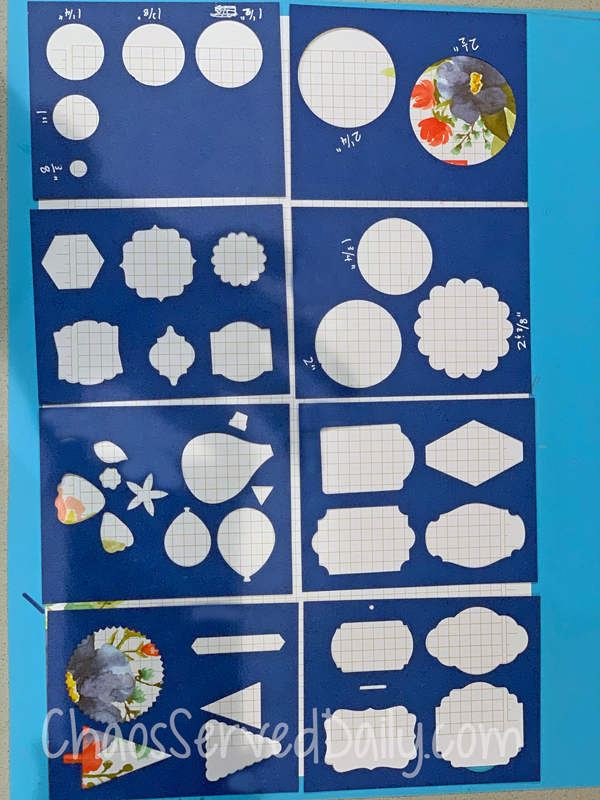
As you might imagine, these are simple to make. I cut cardstock into quarters (4.25″ x 5.5″), and I tried to group my punches so that similar ones are on the same card. After punching them in the cards, I wrote sizes where I thought I needed them (mostly the circle punches). Then I used laminating sheets to laminate them and make them a little sturdier.
I may use a hole punch in the corner of each one and join them with a binder ring, but for now, they just stay in my toolbox on my craft desk, where I can easily access them, as I did for some of these cards.
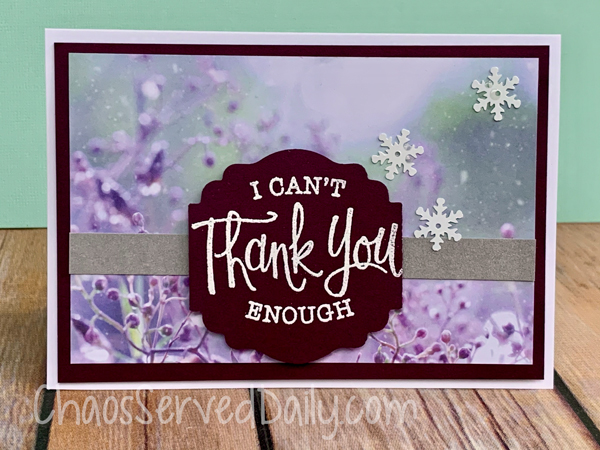
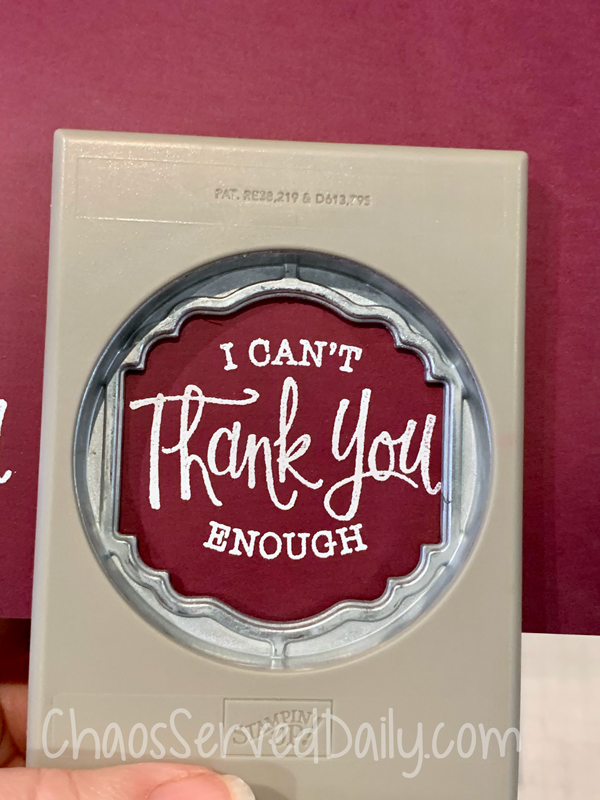
I think Blackberry Bliss may be my favorite all-time color from SU!. It looks a little too dark in this photo, but it’s really a lovely combination. With the templates, I was able to determine which punch worked best without needing to even stamp. That decided, I simply stamped on the Blackberry Bliss cardstock using Whisper White Craft Ink and Whisper White Emboss Powder. I stamped and embossed first, then punched. Some people would punch first, but I’m not that confident I’ll stamp it exactly where I want it.

The notecards (which are such a timesaver, if you haven’t ever used them) are 3.5″ x 5″. The Feels Like Frost DSP is 6×6, so I cut 1 sheet into 2 pieces 3″ x 4.5″, which would leave a 1/4″ border all the way around. I matted those DSP sheets on Blackberry Bliss cut to 3.25″ x 4.75″. Then just a 1/2″ x 4.75″ strip of silver cardstock for a little shine, and I assembled it using foam tape to pop the layers a little. To finish it off, I attached some snowflake confetti pieces. Sequins would have been good, instead, if you don’t have snowflakes.
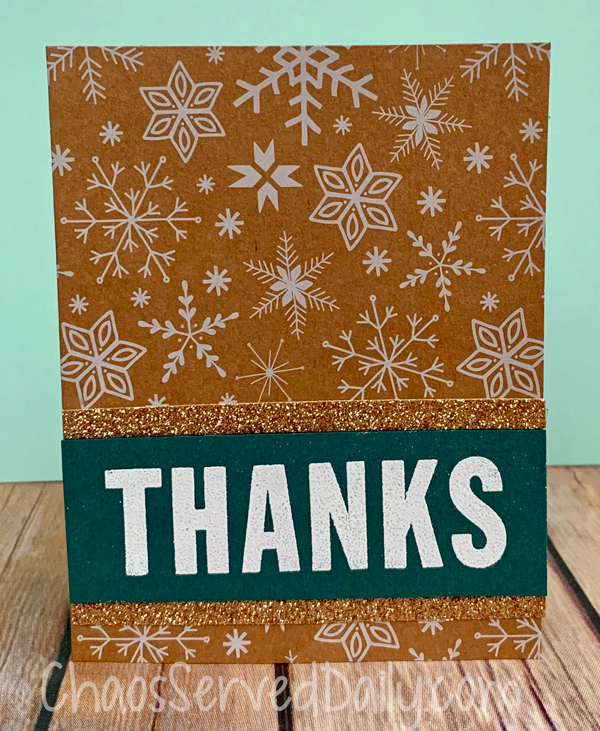
These work fine for me, but I wanted something that didn’t say “I” for the hooligans to send, since they all write in the same card. I had this big THANKS from Simon Says Stamp…I think it’s from the November kit. The stamp set is Big Thanks Autumn, and I checked…it’s still available!
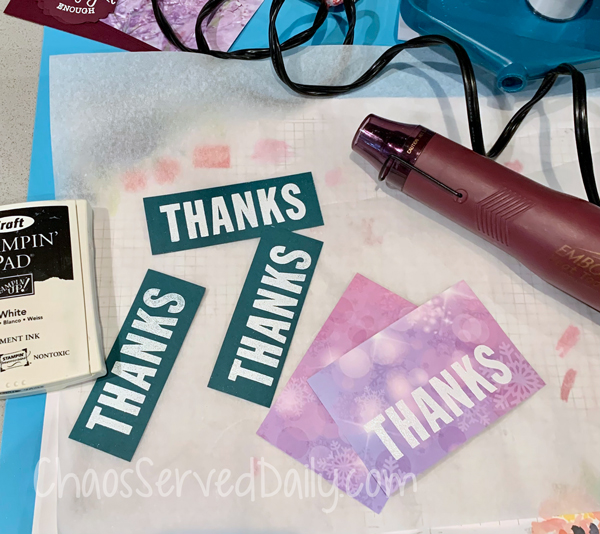
For these, the kids helped with the embossing. They love anything with power tools, and I guess the heat gun for embossing counts. If you’ve never embossed, it’s an easy way to make a big impact. I think it’s pretty magical, too, watching the powder melt. Here’s the basics of embossing…I’m sure there are tons of videos to watch on it, if you need more visuals.

Use an Embossing Buddy first! That’s a little cloth bag full of some sort of powder. Run it over your cardstock before stamping to take off any static that might grab onto embossing powder. If you don’t have an embossing buddy, worry not! You can just run a fabric softener sheet over your cardstock, instead.
Use craft ink or Versamark ink, so it’s not quick drying. Stamp your image, making sure it’s a good juicy image.
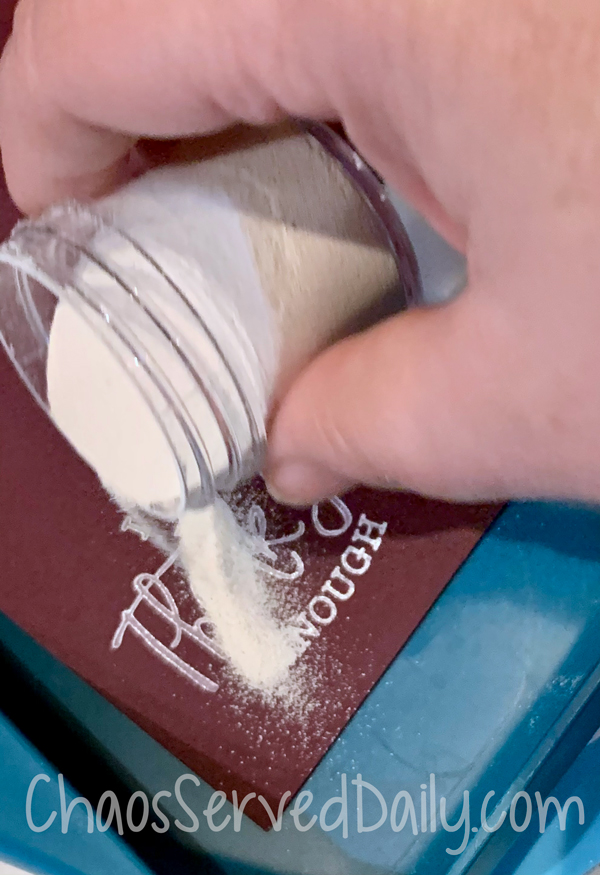
Liberally sprinkle your stamped image with embossing powder…pretty quickly, before the ink dries. Like within a minute or two, so you can stamp several images, in case you mess one up somehow. I speak from experience, sadly. I use a tray with a funnel at one end to sprinkle over, so that I can easily funnel it back into the embossing powder jar. But you can also just use a piece of paper, folded in the middle (hamburger style) and pour it back into the jar using that as a funnel. Take a good look at your image now…if there are little grains of powder not on the image, use a small paintbrush to brush them off. A speck of powder becomes much more noticeable after you heat it.
Now the fun part…heat it with the heat gun until it’s a little shiny and melted. Keep the heat gun moving…it just takes 30 seconds or so. Move the heat gun around to be sure all of the image has embossed. You may want to use a chopstick or tweezers to hold the paper in place as you’re embossing…it gets rather hot!
There you are…embossing like a boss!
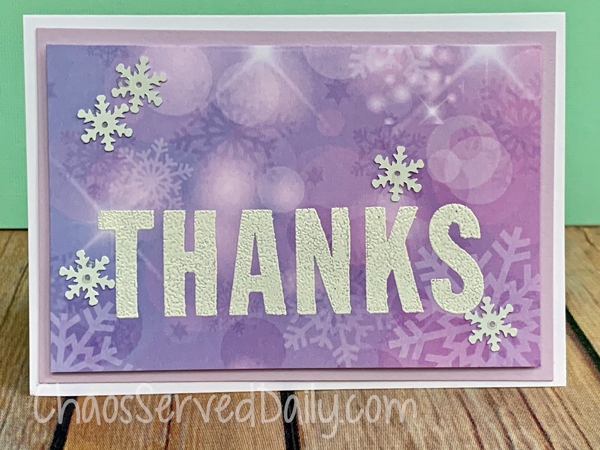
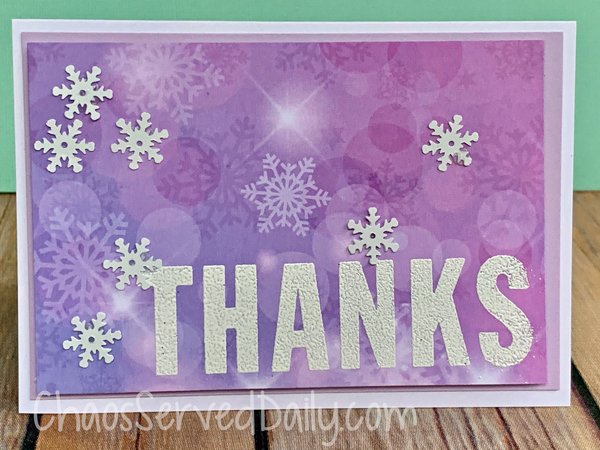
After stamping and embossing the various “thanks”, we just layered the purple backgrounds onto Highland Heather cardstock (cut in the same sizes as above). Then we added a few snowflakes, and the cards were done!
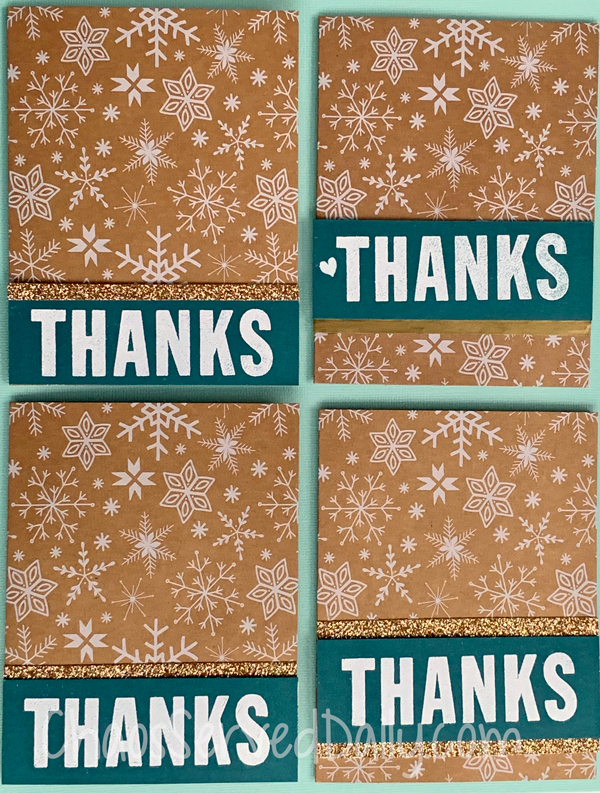
For the Snowflake Kraft Cards, I cut pieces of gold glitter cardstock 1/2″ x 4-1/4″ and adhered them just under the edge of the embossed sentiment. I couldn’t decide which placement I liked best, so I made a variety!
We’re fortunate to have so many people to thank, and I’m glad for the opportunity to have a little creative time. I hope your first week of 2021 is going well…I’m just excited that everyone is kinda sorta back where they belong. Maybe the kids will even leave the house for school eventually!