Hey there, remember me? I know, I know, it’s been like 4 years (yes, I said YEARS) since I’ve written a post…and that time has been pretty packed with daily life! I graduated with a mathematics degree, and started teaching for an online public school. My GI Joe has been retired 6 years now, and he’s in a career field he loves (healthcare admin). My little hooligans are now in 11th, 9th, and 7th grades! One even has a drivers’ license…which is life-changing for me as the taxi driver in a normal sports season.
Now, like everyone else, the pace of our family life has drastically slowed. I took last year off from teaching and only teach parttime now, two of my kids are in virtual classes, and only one (who is at a small private school) leaves for school each day…and he drives himself there. From late February until mid-May, we basically never saw my husband, as he was in the thick of pandemic prep and then surge. Over the summer, he transitioned to a job that isn’t in the hospital itself, so he still gets to do what he enjoys, but he’s often working from home or in their corporate offices. Soccer is scaled way back (fewer players on a smaller field, with only 1 spectator allowed per player), and pretty much all other events are cancelled or virtual for the foreseeable future. I have to say, I don’t hate it.
Anyhoo, my point is…I’m planning to start blogging again. I was prompted by a reader last week, who let me know my blog was broken! I think it had just happened, as I often look up recipes on it instead of turning to my laptop or recipe files. And I’m pretty sure I looked up something about two weeks ago. Thank you, Sarah!
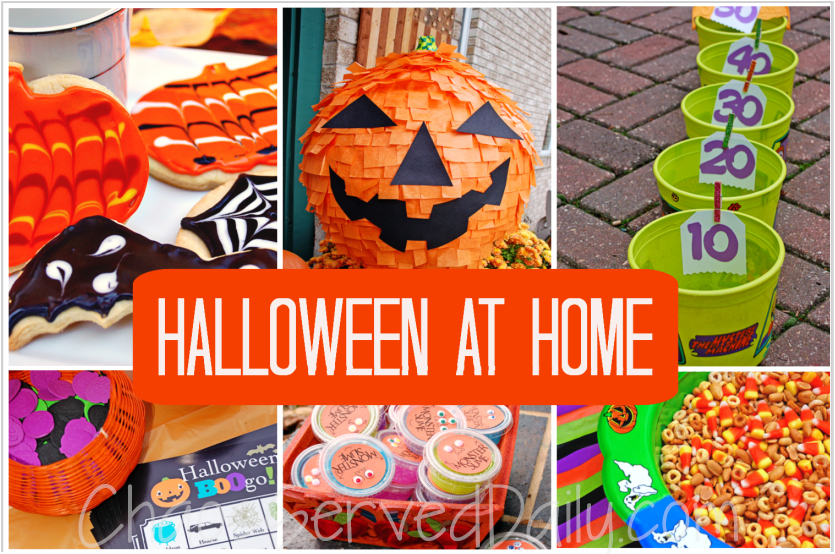
I promise I’ll have new content soon, but since Halloween looks very different this year, too, I thought I’d link a few favorite throwback posts. We had the most fun Halloween party when we lived in Wisconsin…the kids were all elementary age, and tons of our friends came. So if you’re staying in for All Hallows Eve, this pumpkin piñata and the games are all easy to pull off. I hope you’ll add some of these ideas to your celebration to have a safe and happy Halloween!
Take care!
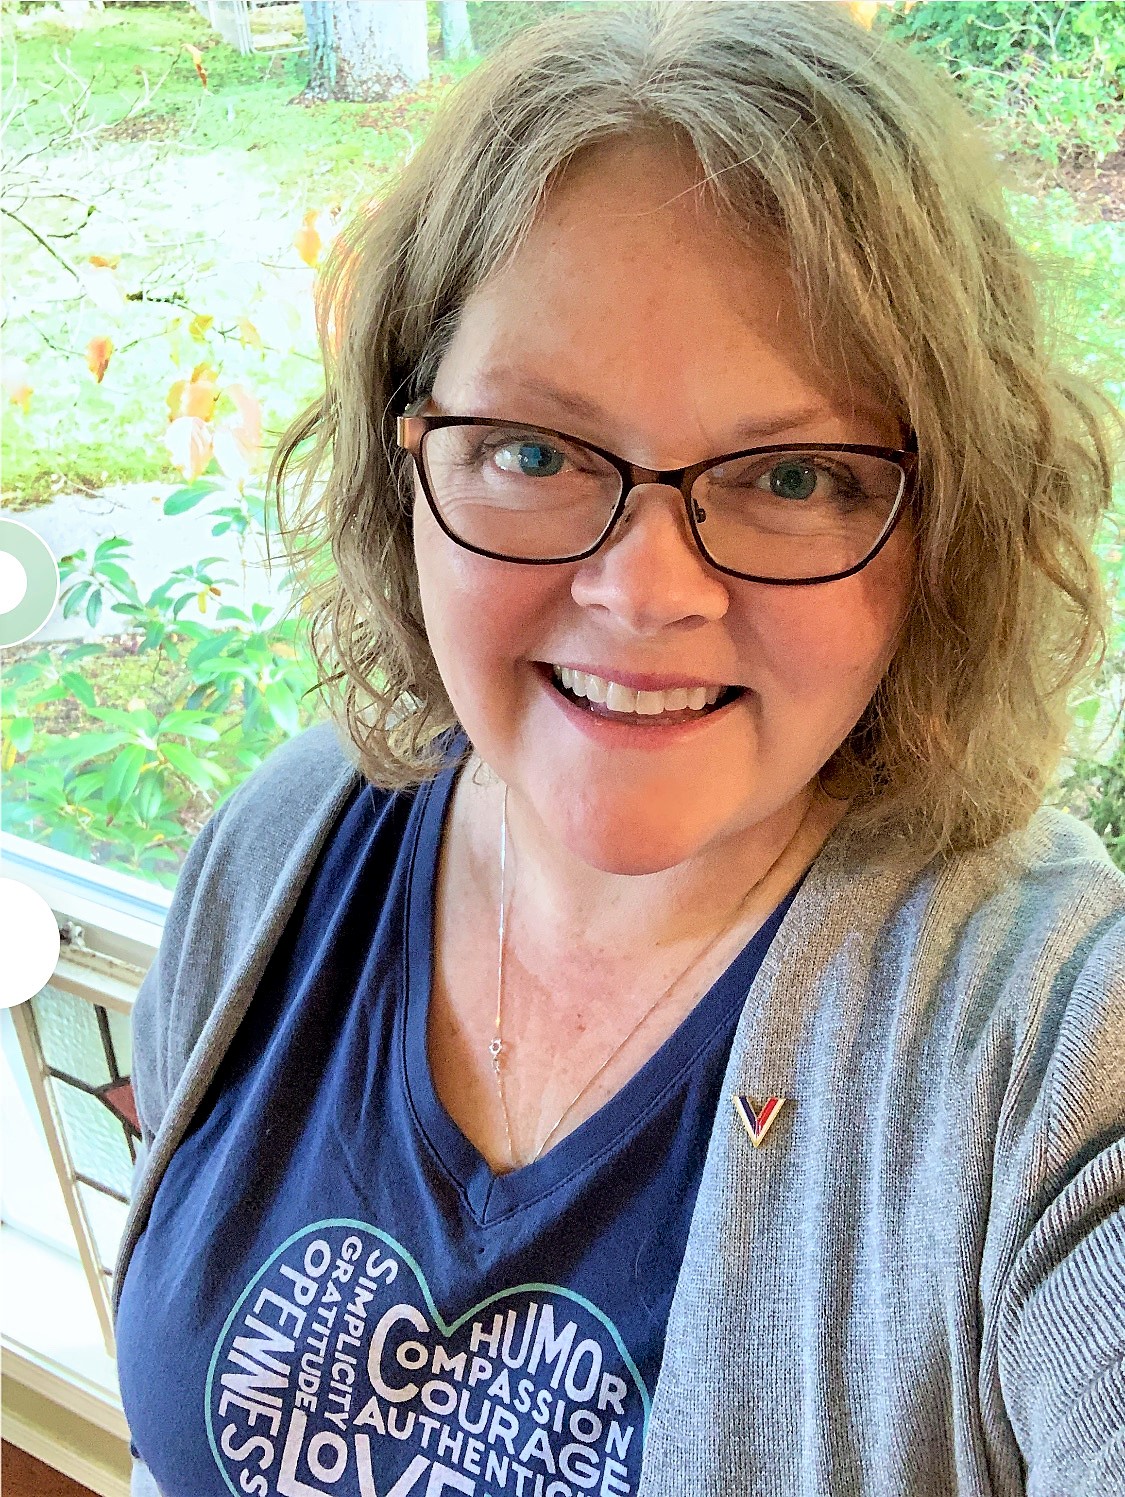
-Megan


![First Degree Mudder (A Pacific Northwest Mystery) by [Dyer-Seeley, Kate]](https://images-na.ssl-images-amazon.com/images/I/51A3JvxsKJL.jpg)
![Scene of the Climb (A Pacific Northwest Mystery) by [Dyer-Seeley, Kate]](https://images-na.ssl-images-amazon.com/images/I/51polYlHbBL.jpg)
![Slayed on the Slopes (A Pacific Northwest Mystery) by [Dyer-Seeley, Kate]](https://images-na.ssl-images-amazon.com/images/I/51pqoFGRXyL.jpg)
![Silenced in the Surf (A Pacific Northwest Mystery) by [Dyer-Seeley, Kate]](https://images-na.ssl-images-amazon.com/images/I/51VgCPv98-L.jpg)
![Meet Your Baker (A Bakeshop Mystery Book 1) by [Alexander, Ellie]](https://images-na.ssl-images-amazon.com/images/I/51wK6hkA9kL.jpg)
![A Batter of Life and Death: A Bakeshop Mystery by [Alexander, Ellie]](https://images-na.ssl-images-amazon.com/images/I/51M7UyTaM9L.jpg)
![On Thin Icing: A Bakeshop Mystery by [Alexander, Ellie]](https://images-na.ssl-images-amazon.com/images/I/51%2BbFBv9czL.jpg)
![Caught Bread Handed: A Bakeshop Mystery by [Alexander, Ellie]](https://images-na.ssl-images-amazon.com/images/I/51Swui890FL.jpg)