Recently, I needed to write an actual, handwritten letter, on actual stationery, not a card. So I looked high and low for some stationery I liked, to no avail. I found some, but it was in sets and quite pricey. I only needed a couple of sheets!
I remember when I was young, I always had plenty of cute stationery pads and sets I had received as gifts. I wrote a lot of letters then, too. No, not just to Shaun Cassidy and Andy Gibb. I actually wrote out-of-town friends and relatives. Of course, that was before computers were even invented (because the dinosaurs kept stepping on the inventors), but still. I never thought finding some nice paper would be so hard!
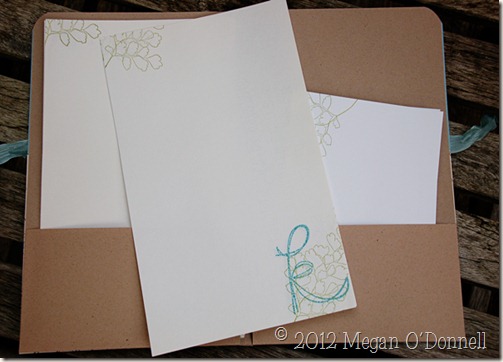
By the way, Stampin’ Up! has stationery sheets in their new catalog, available 1 June. Perhaps they had the same problem as I did. In any event, I came home, found some paper I used for resumes and cover letters back when I actually left my home to work, and started thinking. I cut the sheets in half to make 8-1/2” x 5-1/2” sheets, then stamped some images in the bottom right and upper left corners. Nothing too elaborate, of course. And I was happy with my results and wrote my letter.
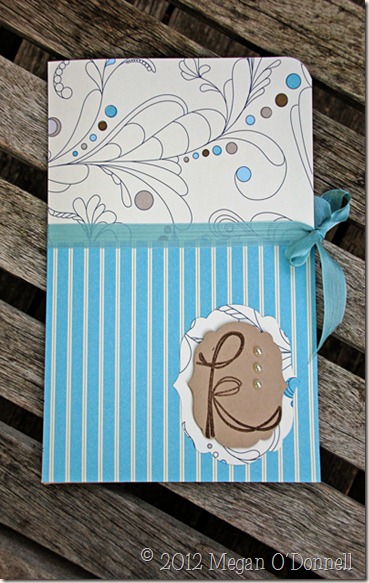
Then I started thinking about a graduation gift I wanted to give (to the daughter of the friend I’d written the letter to), and I decided a stationery folio would be just the ticket.
See, isn’t that pretty? This particular grad is an extremely talented artist, and I’m quite certain she could make something much more “her,” but she might not have time!
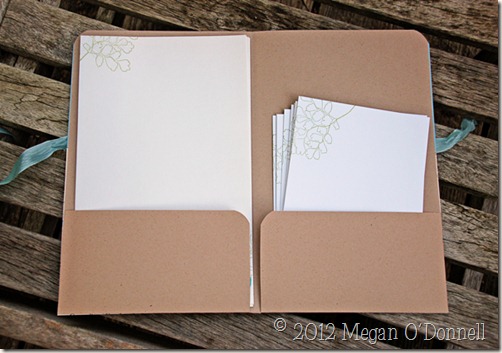
The folio was very easy to create. How, you ask? Using a 12×12 piece of cardstock (not DSP, it’s not heavy enough), score it at 6” one way, turn it 90 degrees, and score it at 3”. The 6” score is the center, the 3” folds up to make the pocket. I cut about 1/4” down on either side of the center, on the 3” portion, then rounded the corners. You can see that more easily in the second photo.
I used Sticky Strip to adhere the outside edges of the 3” pocket. I also rounded the top corner of the folio, then embellished as I wished. I probably should stamp a little something inside the folio. Now that I see it, it looks a little plain.
I think this makes a nice little gift for any occasion, such as graduation, birthdays, or hostess gifts. Doesn’t that make you want to invite me over for dinner? I’m inspired to write more letters, but that doesn’t mean I will. I’ll try, though!


I love this! Super cute, and looks easy enough to make.
Oh, how wonderful! I spent HOURS in a downtown stationery store when I was a kid, and I can still spend inordinate amounts of time at Office Depot, Staples, and the like looking at all the wonderful papers, pens and miscellaneous supplies. Sigh…. Sometimes changing times AREN’T for the better, IMHO. Hope your recipient catches the bug, LOL.