Have you ever made (or, more importantly, eaten) homemade marshmallows? You cannot even compare them to store-bought, they’re so much more…everything. More delicious, more tender, more fun, more, more, more!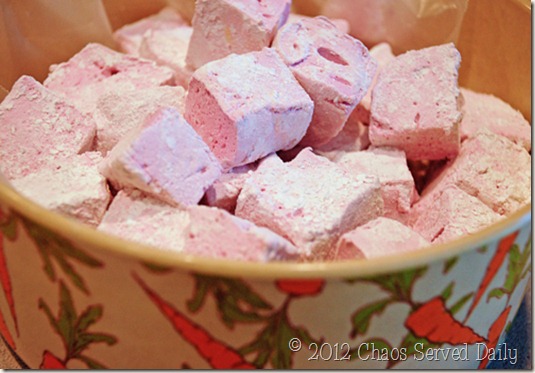
I’m not a big fan of store-bought marshmallows for snacking. Of course, they’re great for roasting over a fire or making Rice Krispy treats. Homemade are a whole other story, though. And, (drumroll, please) they only have 2 Weight Watchers points for a 2” x 2” square…that’s a lot of marshmallow! Have I talked you into it yet?
Dreamy Marshmallows
Powdered sugar
2 packets unflavored gelatin
1-1/2 cups granulated sugar
1/2 cup light corn syrup
Pinch of salt
1-1/2 tsp vanilla
Purple or red food coloring, optional
1. In mixer bowl, sprinkle gelatin over 1/3 cup cold water. Let stand 10 minutes, while making syrup.
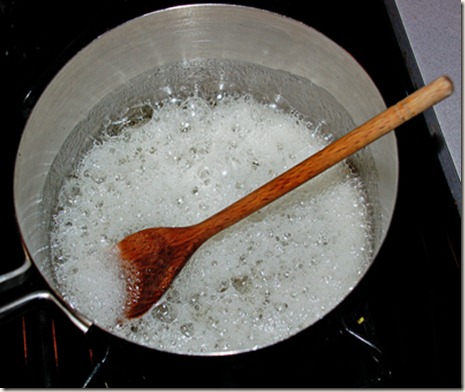
2. In medium saucepan, combine granulated sugar, corn syrup, 1/3 cups water, and salt. Bring to a boil to dissolve sugar. Lower heat slightly and boil 4 more minutes.
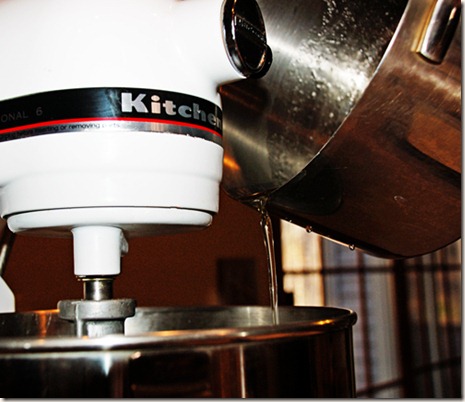
3. Turn mixer on low speed and pour hot syrup into the gelatin in a thin stream until completely blended. Increase blender speed to high and beat until doubled in volume and it becomes white, thick, and glossy.
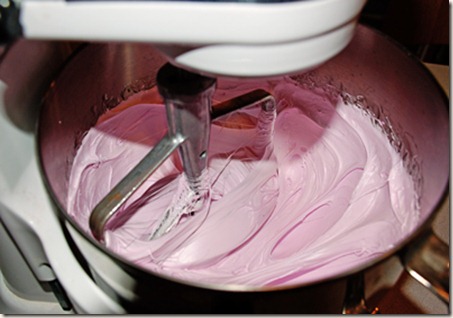
It takes about 10 –15 minutes, so a stand mixture is really helpful. Beat in vanilla and food coloring.
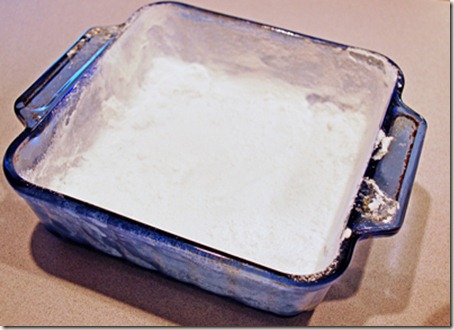
4. While the mixer is working, prepare your pan. In a 8×8 pan, spray cooking spray. Then dump in powdered sugar and COMPLETELY cover it in as thick a layer as will stick. This is important, since this is possibly the stickiest substance known to man. It does wash right off hands, cabinets, mixers, whatever, since it’s really just sugar.
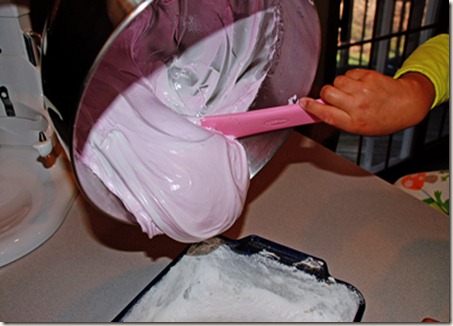
5. Spread into prepared pan. Another set of hands was helpful here, while I took photos.
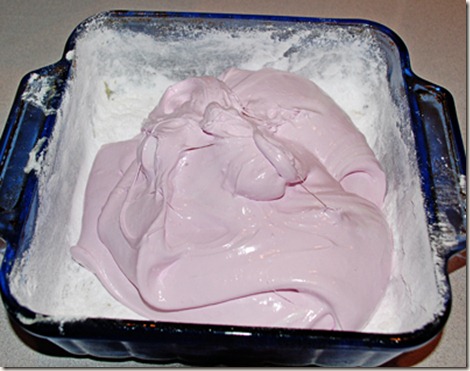
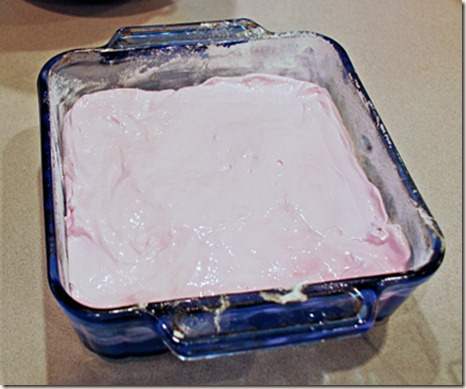 Wet your hands and you’ll be able to pat it into the pan. Let sit 3 hours or overnight or dry a bit.
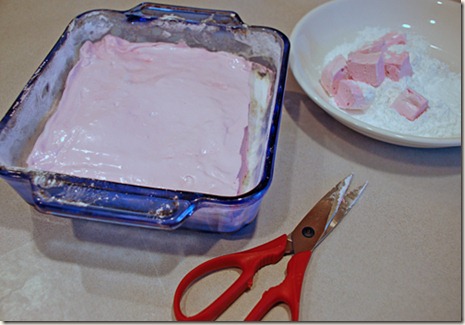
6. Using kitchen scissors, cut the marshmallows into strips, then cubes. Toss them in powdered sugar to coat.
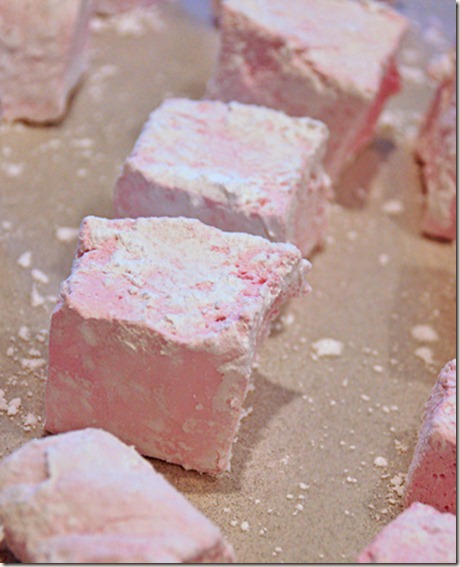
Let them sit on wax paper until you’re all done cutting and tossing, then store in an airtight container. They’ll keep for up to 5 days.
If you’re thinking these are way too little bang for the buck, they’re really not! To actually make them, allow about 30 minutes, then after they’re ready to cut, it takes about 10 minutes at most to cut and coat them with sugar. Really. And everything cleans up so easily, because it’s just sugar and water.
My helper was rewarded with getting to lick the spatula…she cleaned up well, too!
These are beyond fabulous with chocolate fondue or you can dip them in chocolate and let them harden. I also like to substitute other flavors for the vanilla. Peppermint, orange, strawberry, cherry, whatever extracts you like. Enjoy!


